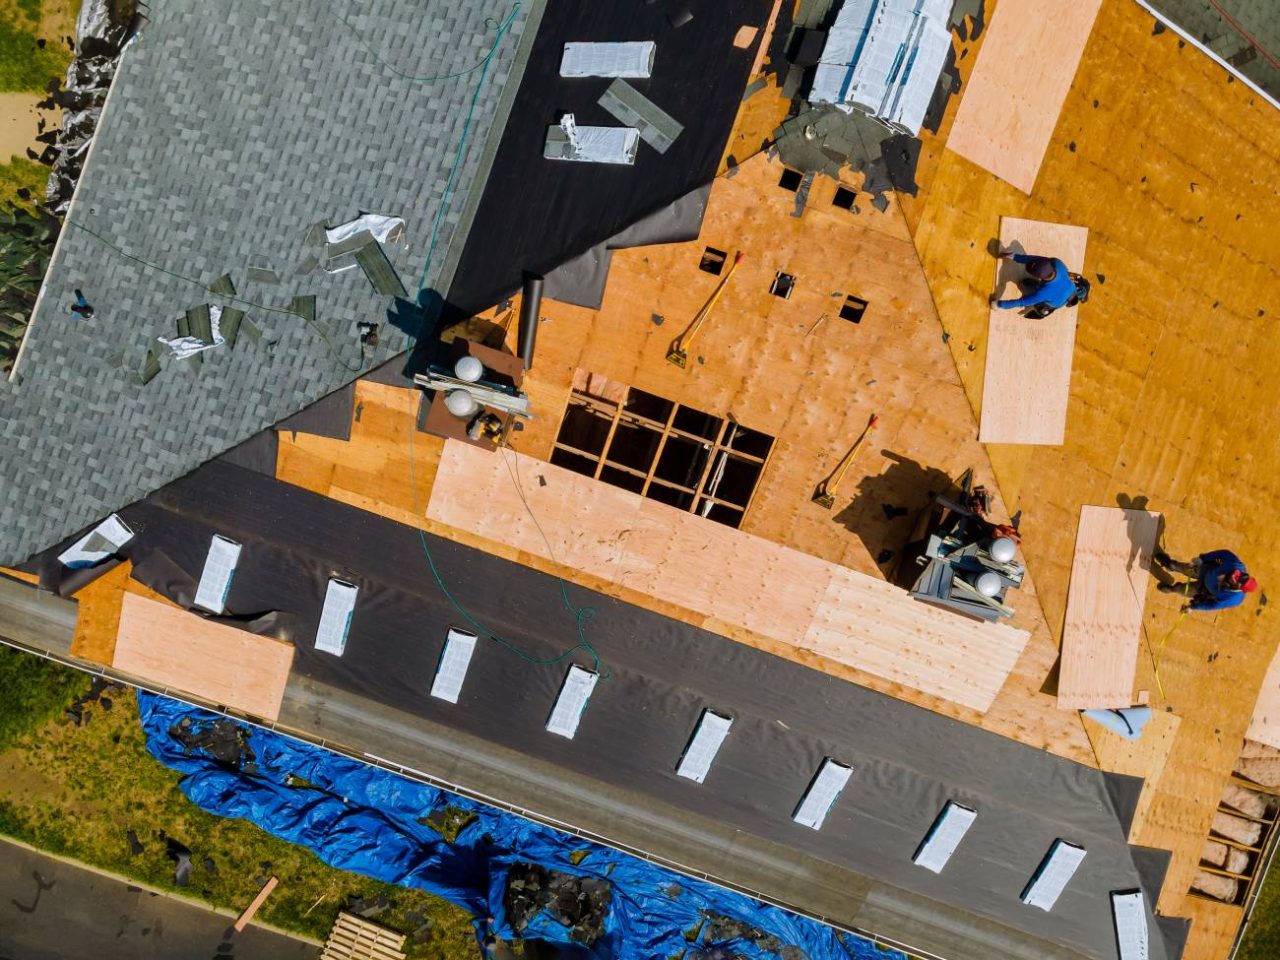
The Steps Taken to Protect Your Home
When it comes to installing a new roof, shingles are just the final layer of protection. Beneath them lies a carefully built system of materials designed to safeguard your home from moisture, weather damage, and structural issues. Without these critical layers, shingles alone wouldn’t be enough to prevent leaks, mold, and other costly problems.
At Horizon Roofing & Construction, we know that proper roof preparation is key to a long-lasting, durable roof. In this guide, we’ll walk you through the essential steps taken before shingles are installed, so you can understand how your roof is built to withstand the elements.
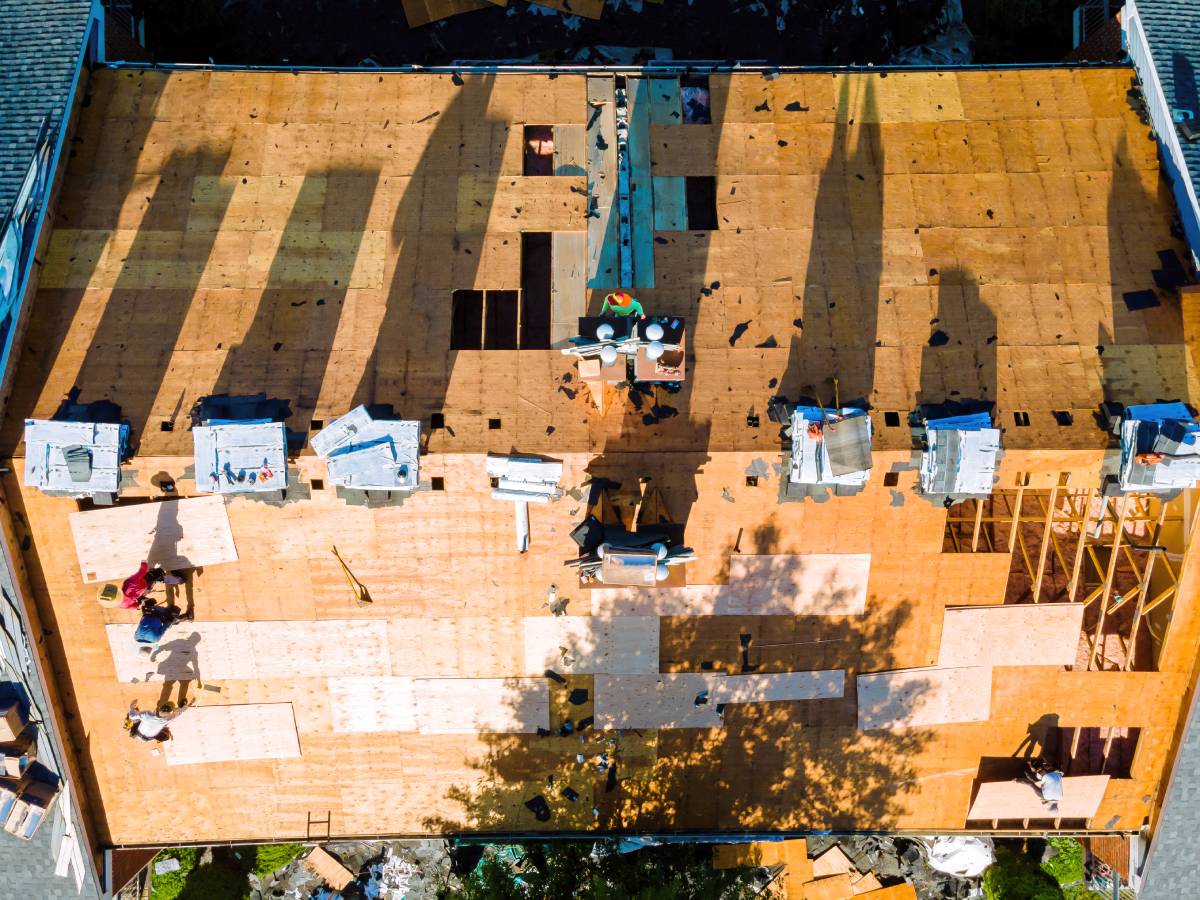
Step 1: Roof Deck Inspection & Preparation
Before anything else, roofing professionals inspect the roof deck—the base layer of wood sheathing that supports the entire roofing system.
🔍 What happens during this step?
- Any damaged, rotting, or weak plywood is replaced to ensure a strong foundation.
- The roof deck is cleaned of debris, nails, and dust to allow proper material adhesion.
- A secure, even surface is prepared to prevent future roofing failures.
Without a solid roof deck, the rest of the roofing materials won’t perform as they should, leading to premature issues.
Step 2: Installing Drip Edge
A drip edge is a metal flashing installed along the edges of the roof. Though often overlooked, this small but crucial component plays a major role in roof longevity.
🛡 Why is drip edge important?
- It directs water away from the fascia and prevents wood rot.
- It stops wind-driven rain from getting under the shingles.
- It adds an extra layer of protection against ice dams and moisture intrusion.
Drip edge is typically installed before the underlayment on the eaves and after the underlayment on the rakes for optimal water protection.
Step 3: Laying the Roofing Underlayment
One of the most important layers before shingles is the roofing underlayment, which acts as a secondary barrier against water infiltration.
📌 Common types of underlayment used:
✅ Felt Paper (Asphalt-Saturated Felt): A traditional and budget-friendly option that provides basic protection.
✅ Synthetic Underlayment: A modern, durable material that offers better moisture resistance and tear strength.
The underlayment is rolled out across the entire roof deck, overlapping each section to prevent leaks. Properly installed underlayment can protect your home even if shingles get damaged.
Step 4: Ice & Water Shield Application
Some areas of your roof are more vulnerable to water damage, especially in colder climates. That’s where ice and water shield comes in.
🧊 What is ice & water shield?
- A self-adhering waterproof membrane applied in high-risk areas.
- Typically placed along eaves, valleys, chimneys, and around vents.
- Prevents leaks caused by ice dams and heavy rain.
While not always required, using ice and water shield in critical areas can significantly extend the lifespan of your roof.
Step 5: Flashing Installation
Flashing is a thin metal material installed around areas where water could potentially seep in, such as:
🔹 Valleys (where two roof slopes meet).
🔹 Chimneys and skylights.
🔹 Roof vents and pipe penetrations.
Why is flashing important?
Without proper flashing, water can find its way into these weak spots, leading to leaks and interior water damage.
Step 6: Roof Ventilation & Additional Components
A well-ventilated roof extends the life of your shingles and prevents moisture buildup in your attic. Proper ventilation helps regulate temperature and humidity, reducing the risk of mold and wood rot.
💨 Types of roof vents used:
- Ridge vents – Run along the peak of the roof for continuous airflow.
- Soffit vents – Located under eaves to pull in cool, fresh air.
- Gable vents – Installed in the attic to allow air circulation.
Additionally, starter shingles are placed along the roof edges to provide extra wind resistance before the main shingles are installed.
Step 7: Final Preparations Before Shingles
Before the shingles are installed, roofing professionals do a final check to ensure everything is properly secured and sealed.
✔ All underlayment and flashing are correctly in place.
✔ Any gaps or seams are sealed to prevent future leaks.
✔ The roof is ready for the final layer—shingles!
General Time Frame for Roof Installation
Many homeowners wonder how long it takes to install a roof. While the timeline depends on factors like roof size and weather conditions, here’s a general breakdown:
📅 Roof preparation & underlayment installation: 1–2 days.
📅 Shingle installation: 1–3 days.
📅 Total project duration: Typically 2–5 days, but larger or more complex roofs may take longer.
Why Proper Roof Preparation Matters
A properly installed roofing system does more than just look good—it ensures long-term protection for your home.
✅ Increases roof lifespan – Prevents premature deterioration.
✅ Enhances weather resistance – Shields against rain, snow, wind, and ice.
✅ Reduces costly repairs – Prevents leaks and structural damage.
✅ Boosts energy efficiency – Proper ventilation and underlayment help regulate indoor temperatures.
By investing in high-quality materials and expert installation, you can avoid major roofing headaches down the road.
Need a Professional Roof Installation? We’re Here to Help!
If you’re considering a new roof, trust the experts at Horizon Roofing & Construction. Our team ensures every layer of your roof is properly installed for maximum protection and longevity.
🔹 Free roof inspections & estimates
🔹 High-quality materials & expert craftsmanship
🔹 Fast & reliable installation
📞 Call us today at [Your Contact Info] or schedule your FREE inspection online at [Your Website URL]!
Don’t wait—protect your home with a roof built to last! 🏠