
Flashing Failures: The Hidden Leak Problem in Michigan Homes in Farmington Hills, MI
Short answer
Flashing failures in Farmington Hills, MI, require systematic interior and exterior checks to locate water leaks before structural rot spreads. Next, inspect roof projections like chimneys and skylights for exterior cracks, debris, sealant breakdown, or flashing gaps. Resolve junction defects by layering kickout flashing, peel-and-stick membrane, drip edge, and the weather-resistive barrier correctly.
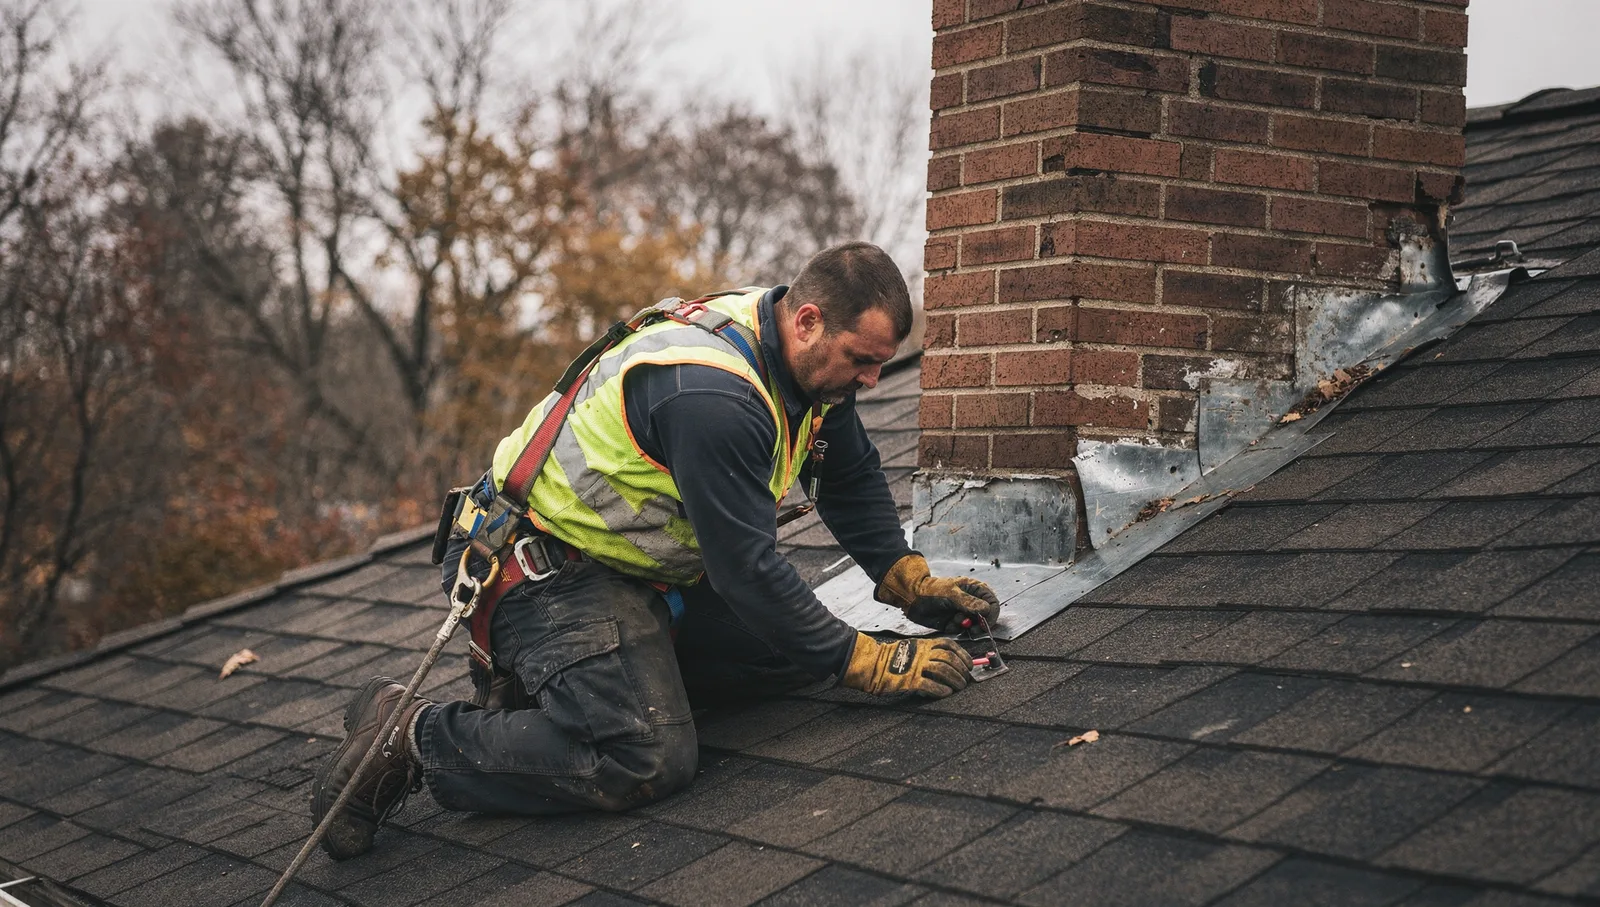
Flashing is designed to keep moisture from entering the home's interior, but issues can lead to water intrusion. Water intrusion often involves vulnerable areas like roof projections and joints. Instead, water finds the weak points where your roof meets a wall, chimney, or window frame.
- Attic and ceiling check
- Roof projection inspection
- Joint and barrier layering
Identifying Signs of Flashing Deterioration and Interior Moisture Intrusion#
Interior moisture intrusion begins when water slips past worn exterior flashings. Step 1 for assessing the condition of your roof flashing is to check the building attic and ceiling for staining or discoloration (fema.gov). These discolored patches are primary signs that water has entered the structure. When runoff seeps past metal barriers, it can travel across structural framing members before dripping downward onto the ceiling.
- Check the attic and ceiling: look for staining or discoloration.
- Inspect roof projections: examine chimneys and skylights, and check for gaps, cracks and sealant.
Step 2 for assessing roof flashing condition is to safely access the building roof and examine all safely accessible projections for gaps or damage to the flashing or sealant (fema.gov). Typical projections include structures such as a chimney or a skylight. Exterior defects to look for during routine checks include:
- Cracking along the metal edges or surrounding sealant (fema.gov).
- Debris accumulating within drainage channels around flashing seams.
- Gaps between the flashing and wall or roof surfaces that allow moisture to enter the home.
Routine exterior checks matter because exterior cracking, debris, or gaps between flashing and wall or roof surfaces give water an open path inside (fema.gov). Assessing roof flashing typically requires checking projections up close for gaps or damage. Left alone, moisture slips behind exterior cladding during wind-driven storms. Catching surface separation early stops water before it saturates the structural framing of your building envelope.
Roof Flashing Materials and Common Placement Along Vulnerable Junctions#
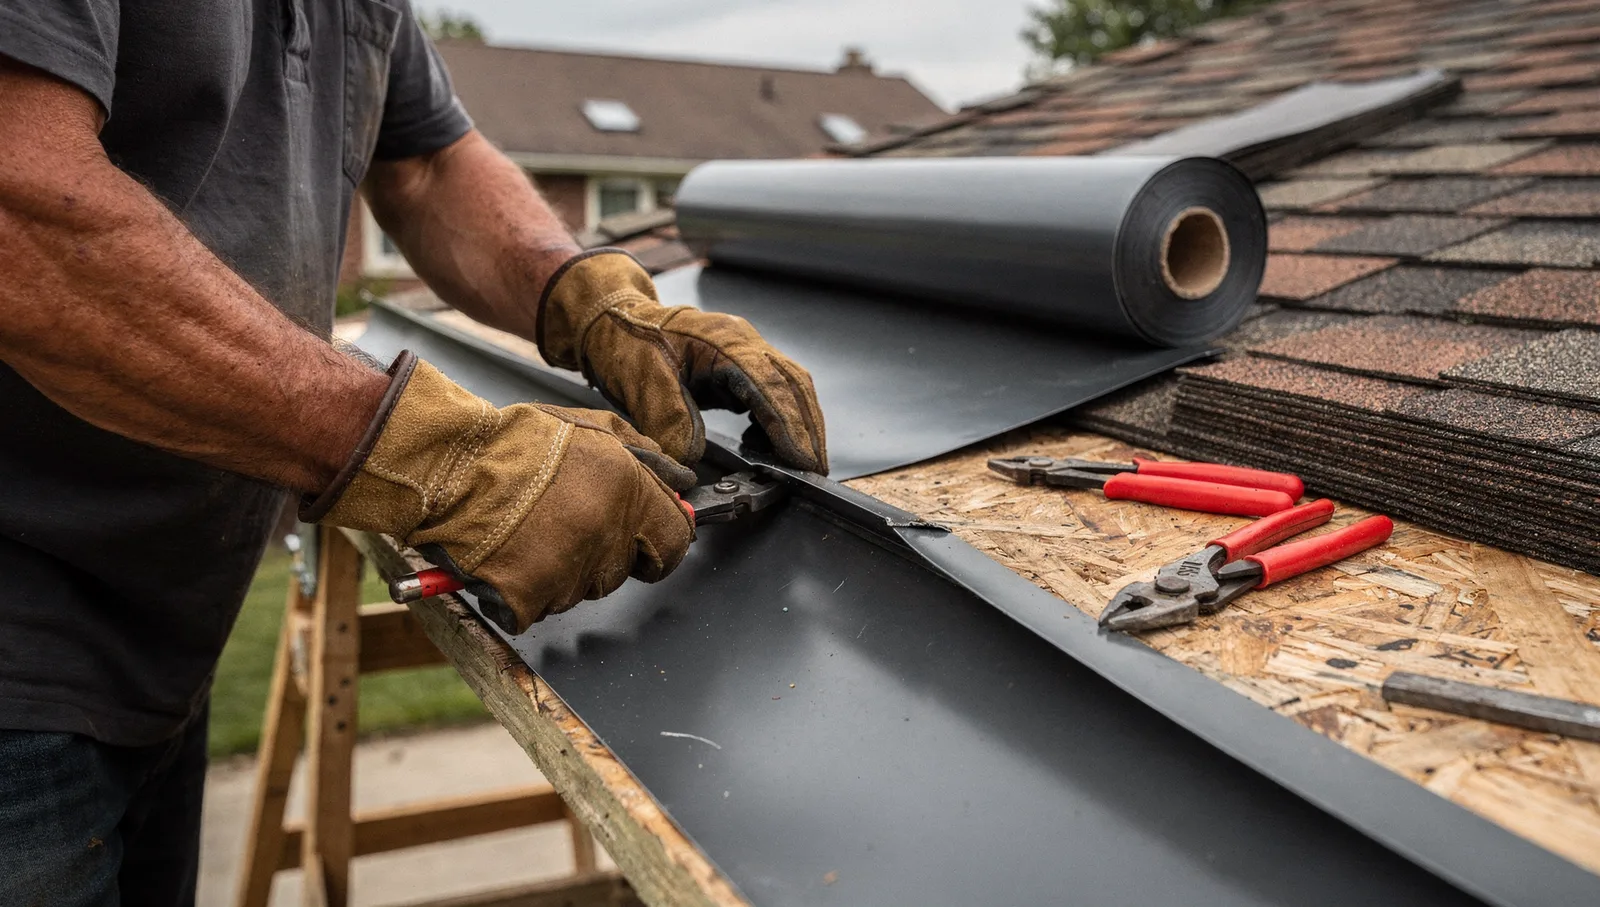
Roof flashing is a thin layer of waterproof material used to keep moisture out of your home interior where it can cause damage (fema.gov). Builders install these protective pieces at exterior windows, doors, and projections extending from the roof, including a chimney or a skylight. Without these waterproof layers, rainwater running down an exterior wall or dormer can bypass the edges of your shingles.
Common flashing materials include:
- Sheet metal components formed to fit junctions (fema.gov).
- Vinyl profiles designed for water protection.
FEMA notes that flashing is made of waterproof material, typically metal or vinyl (fema.gov). These materials create a continuous barrier at joints that shingles cannot seal on their own. For complete building envelope protection, metal pieces like step flashing along sidewalls and counterflashing embedded in chimney mortar must integrate cleanly with adjacent parts. These assemblies coordinate with fascia, soffit ventilation intake areas, and drip edge details to direct runoff away from wall framing.
Kickout Diverter Installation and Weather-Resistive Barrier Layering#
Kickout flashing diverters direct water away from vertical wall intersections and into gutters. If a kickout flashing installation does not interweave peel-and-stick and the kickout diverter with the weather barrier and drip edge, it is bound to fail, according to Iversons Lumber on 2020-04-01 (iversonslumber.com). Missing or reverse-lapped materials let roof runoff slip behind the siding rather than draining clear of the wall.
Proper layering prevents moisture from backing up behind wall finishes. To maintain continuous drainage, materials must follow a strict overlapping sequence without reverse laps:
- Roof sheathing preparation: Lay a self-adhering peel-and-stick membrane across the critical seam (iversonslumber.com).
- Roof edge integration: Position the metal drip edge along the lower roof perimeter.
- Diverter placement: Interweave the kickout diverter with the peel-and-stick membrane and the drip edge.
- Wall barrier integration: Overlap the weather-resistive barrier over the vertical flange of the kickout diverter so water sheds outward.
Exterior contracting standards require this interwoven assembly because water finds any backwards flap. When kickout diverters, membranes, and weather barriers overlap in the correct order, roof runoff flows away from the wall assembly and into the gutter.
Evaluating Your Roof Flashing#
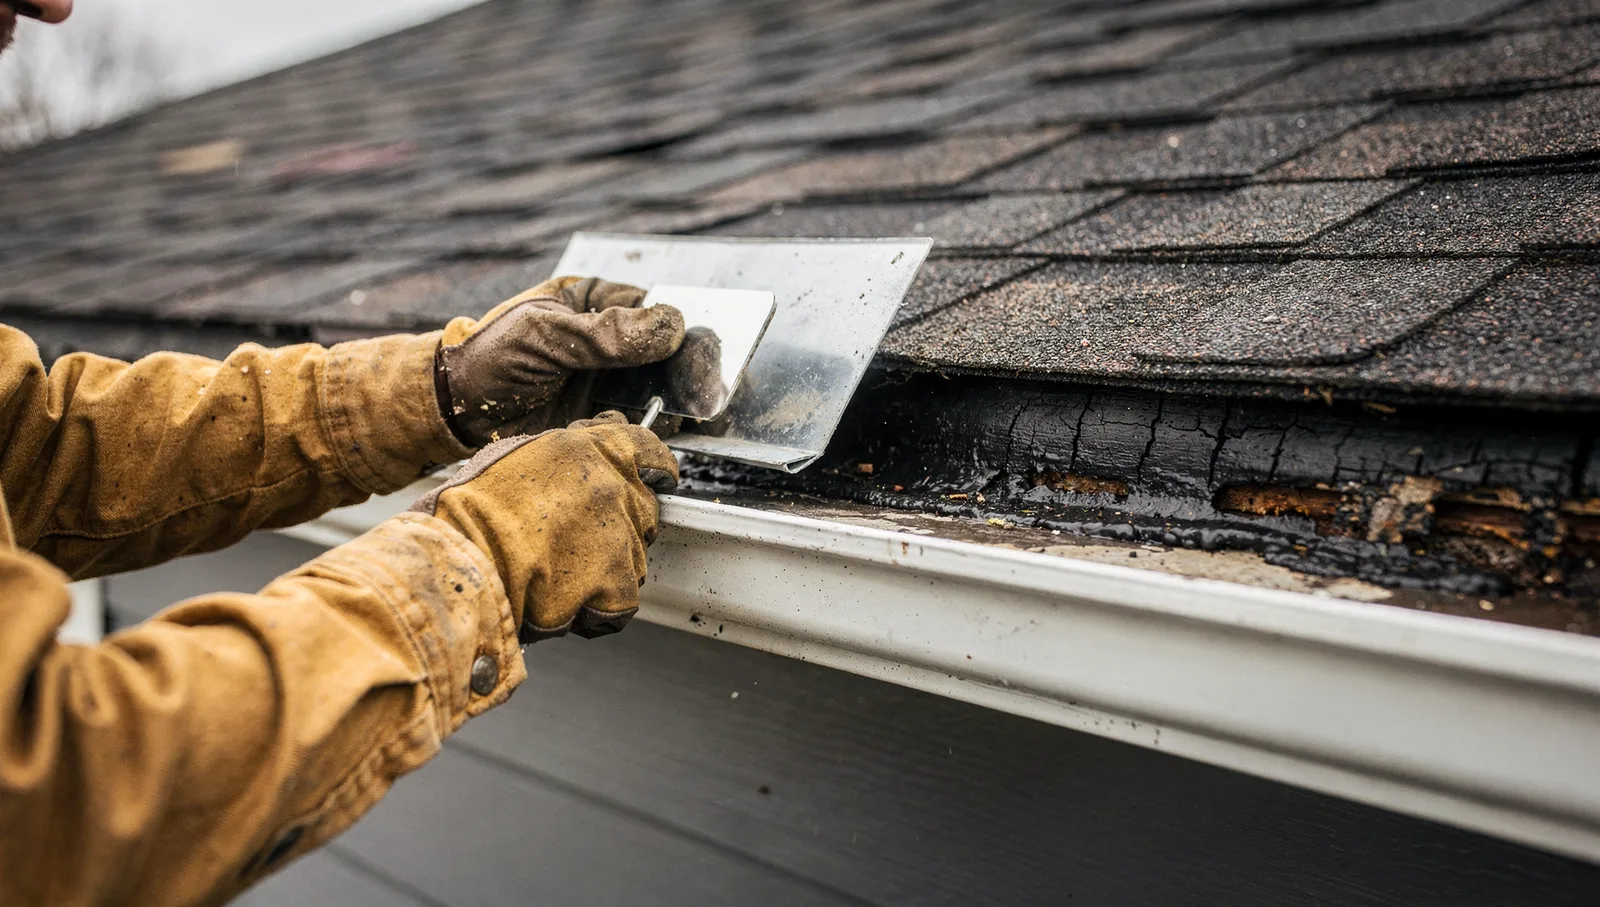
Protecting a home against hidden water intrusion starts with an honest evaluation of your roof junctions and drainage points. A homeowner can start by reviewing these conditions:
- Confirm ceilings and attic spaces remain clear of interior moisture stains or discoloration, covered above (fema.gov).
- Check roof projections such as chimneys and skylights for sealant cracks or gaps, detailed above.
- Check where rooflines terminate into exterior siding to confirm a kickout diverter directs water outward (iversonslumber.com).
If your roof shows visible flashing gaps, cracked sealants, or ceiling discoloration, schedule a professional roof inspection. A certified exterior contractor can inspect every junction, repair aging materials, and protect your home envelope against moisture intrusion. Horizon Roofing & Construction evaluates roofs across Farmington Hills, Northville, Novi, Plymouth, Canton, and Livonia to detect and resolve flashing failures before leaks cause structural damage.
| Inspection Area | Target Components | Visual Defect Indicators | Risk / Potential Failure Impact |
|---|---|---|---|
| Interior (Attic & Ceiling) | Ceiling drywall and attic framing | Staining or discoloration | Hidden water intrusion already entering the building envelope |
| Exterior Roof Projections | Chimneys, skylights, vents, and joint sealants | Cracking, debris accumulation, or gaps between flashing and surfaces | Moisture penetration behind flashing, mold growth, dry rot, and framing corrosion |
| Wall-Roof Intersections | Kickout diverter, peel-and-stick membrane, drip edge, weather barrier | Reverse laps, missing diverter, or non-interwoven layers | Runoff diversion failure allowing water behind siding and wall sheathing |
| Layer / Material | Assembly Function | Integration Requirement |
|---|---|---|
| Peel-and-Stick Membrane | Waterproof self-adhering protective barrier | Must be interwoven with the kickout diverter and drip edge |
| Metal Drip Edge | Perimeter roof edge water management | Interwoven base layer beneath wall transitions |
| Kickout Flashing Diverter | Deflects runoff away from vertical walls into gutters | Must layer directly with membrane and weather barrier without reverse laps |
| Weather-Resistive Barrier | Sheds moisture down the vertical wall structure | Must overlap the diverter to ensure positive exterior drainage |
Disclaimer
This content is general information about roofing and home-exterior work and is not a substitute for an on-site inspection. Contact Horizon Roofing & Construction for advice specific to your home.
Sources
- Check Your Roof Flashing | FEMA.gov - fema.gov (2026-09-13)
- Avoiding Roofing Errors: Layout Problems, Incorrect Kickout Flashing, and Leaking Metal Flashing | Iversons Lumber- Highland, MI | Montrose, MI - iversonslumber.com (2020-04-01)