
How to prevent ice dams on Michigan roofs during winter?
Short answer
To prevent ice dams on Michigan roofs during winter, seal warm-air leaks across your attic floor first to keep indoor heat from warming the roof deck. Use caulk on small gaps measuring 1/4 inch or less, and foam for larger bypasses. Next, add a minimum of roughly 15 inches of blown-in insulation, or an insulation value of R-50. Finally, install baffles at the eaves so intake airflow from soffit vents remains clear.
Source: Horizon Roofing & Construction, https://horizonroofingconstruction.com/blog/how-to-prevent-ice-dams-on-michigan-roofs-during-winter
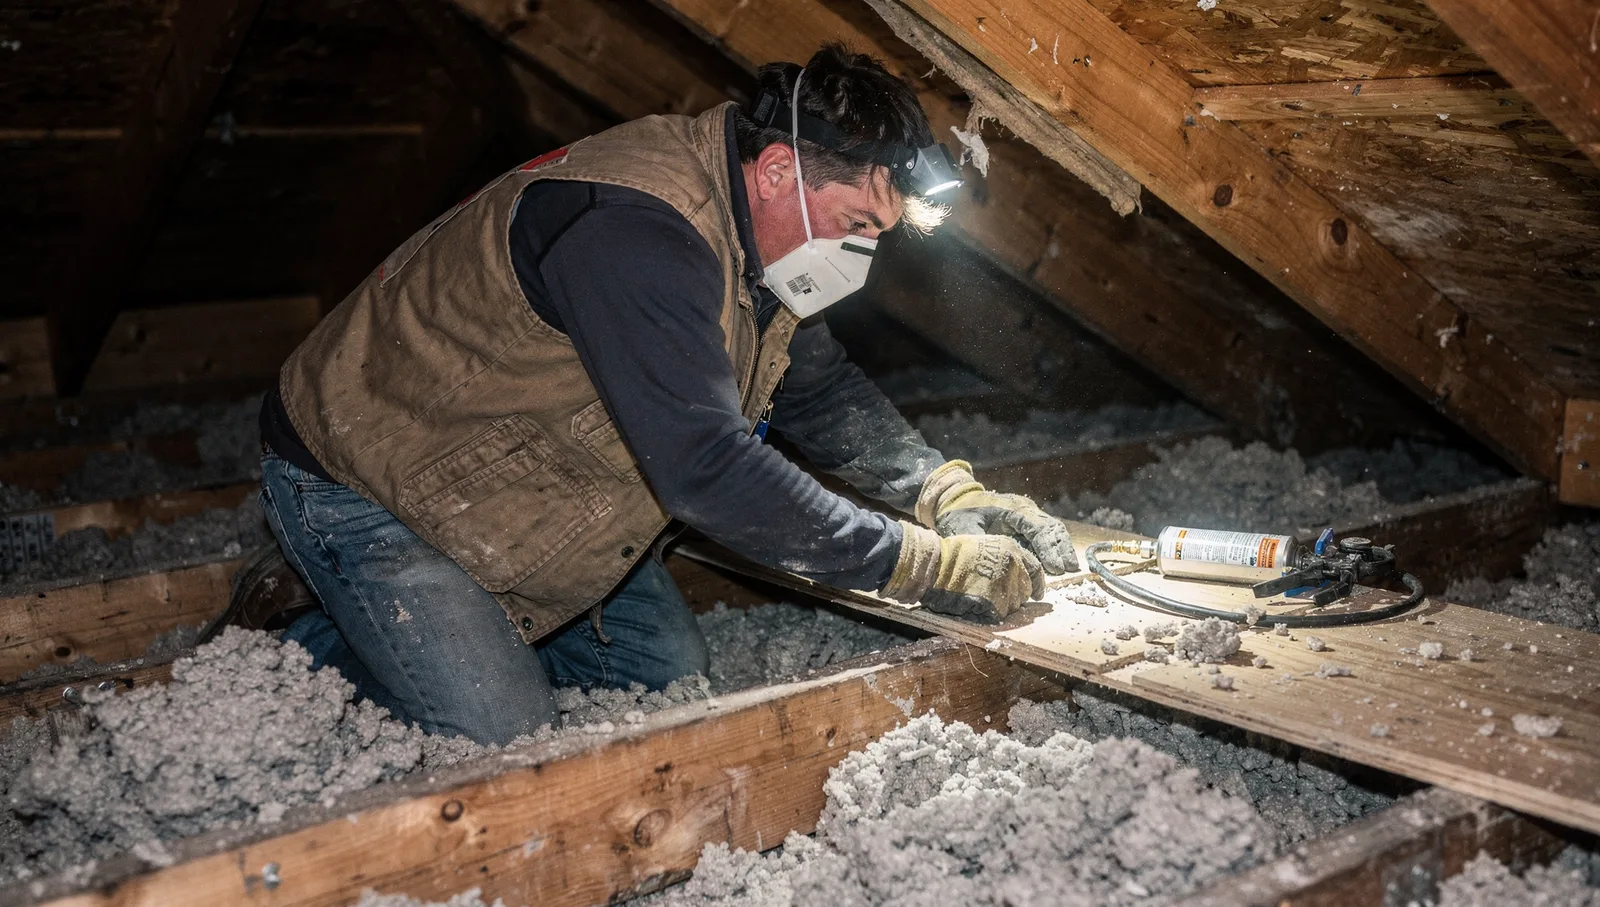
Ice dams form when indoor heat escapes into the attic, warms the upper roof deck, and melts snow that subsequently refreezes over cold eaves. Water pools behind that ridge of ice, backing up under shingles and leaking through ceilings and exterior walls. Stopping this destructive cycle requires treating the exterior envelope as an interconnected, balanced assembly. Attics in northern climates require a minimum of roughly 15 inches of blown-in insulation, or a thermal resistance rating of R-50, to slow heat transfer enough to fight ice dam formation (ag.ndsu.edu).
- Targeted air sealing
- Install rafter baffles
- Add R-50 insulation
- Protect eaves with ice barriers
Attic Air Leak Sealing Across the Ceiling Plane#
Attic air leakage drives roof snowmelt far faster than simple conduction through drywall. Warm, moist air from living spaces escapes into the attic space through wiring holes, plumbing vents, dropped ceilings, and partition top plates. Stopping this airflow requires matching the right sealant to the gap dimension.
Guidelines from the Weatherization Installer Job Aids specify distinct sealing materials for different void dimensions across the ceiling boundary:
- Small gaps measuring 1/4 inch or less require caulk (energy.gov).
- Medium gaps ranging from 1/4 inch to 2 inches call for one-component foam or mastic.
- Large penetrations spanning 2 to 3 inches use two-component foam.
- Extra-large openings measuring 3 inches or wider require rigid infill material that will not bend, sag, or move, alongside structural support such as a 2x4 for spans wider than 24 inches.
Focusing on these ceiling bypasses first prevents warm air from reaching the underside of the roof deck. Once conditioned air bypasses are closed, thermal insulation can perform as intended without being bypassed by rising convective drafts.
Attic Thermal Resistance and Insulation Depth#
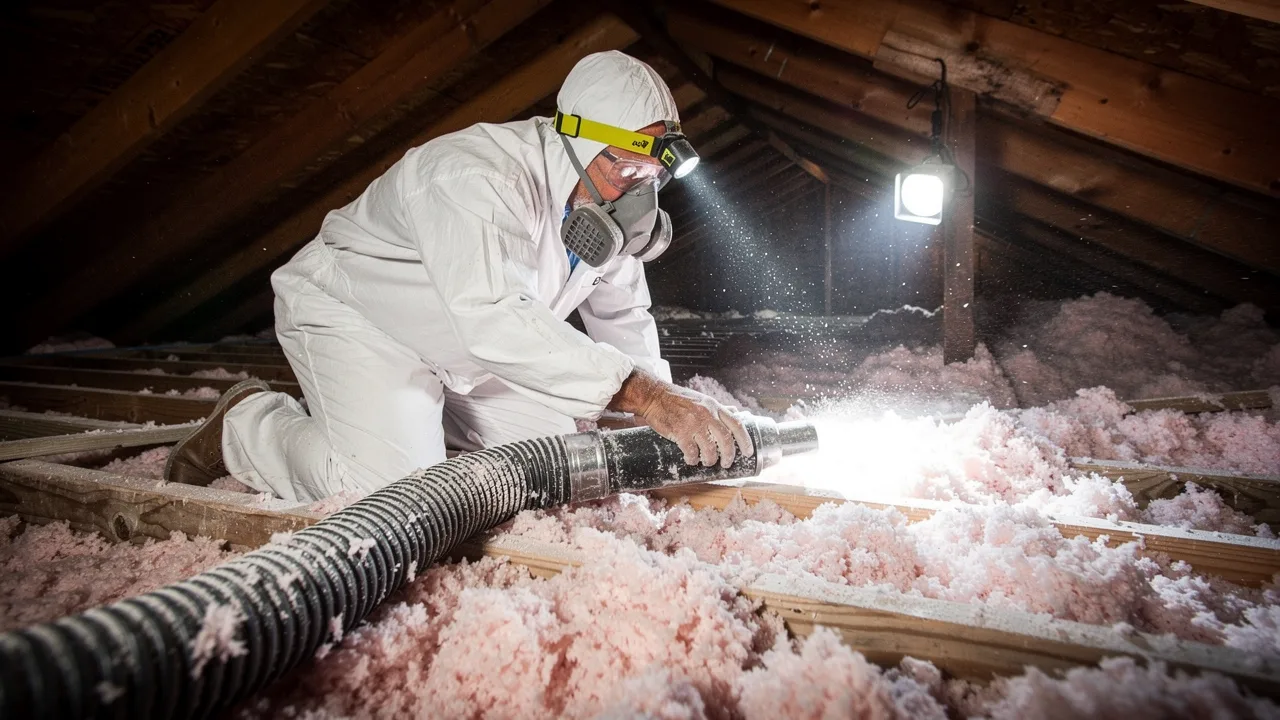
Insulation slows the conductive transfer of heat from living spaces into the unconditioned attic. When insulation is thin or uneven, warm spots develop along the upper roof slope, melting the bottom layers of accumulated snowpack while eaves stay freezing cold.
As noted by North Dakota State University Extension (2023), attics in northern climates require an insulation value of R-50, which translates to a minimum of roughly 15 inches of blown-in insulation (ag.ndsu.edu). R-value measures a material's resistance to heat flow; a higher number means better thermal control. Adding insulation across the attic floor keeps the roof sheathing uniform in temperature, which directly limits snowmelt during freezing weather.
Attic Ventilation Pathways and Rafter Baffles#
Ventilation works alongside insulation to maintain a cold, uniform roof deck. In very cold climates or where the ground snow load exceeds 60 lb/sq ft, roof assemblies should always be vented, either through a vented attic or using an unvented attic equipped with an over-vented roof (basc.pnnl.gov). Continuous ventilation carries away any stray heat that escapes the living quarters before it can warm the roof sheathing.
Airflow pathways typically rely on continuous soffit vents paired with ridge vents, or gable-end vents on homes without continuous eaves (ag.ndsu.edu). To keep this airflow moving, rafter baffles must be installed at the eaves to create an open channel holding insulation back from the soffit vents. Without baffles, fresh blown-in insulation can spill into the eaves, choking off intake ventilation and heating the lower roof slope.
Roof Underlayment and Ice Barrier Specifications#

Even well-insulated roofs face weather anomalies, making secondary waterproof membranes essential. When melting snow hits a freezing roof edge or backed-up gutter, pooled water will work beneath standard asphalt shingles unless an impermeable membrane seals the wood deck.
Under the Michigan Residential Code, roof assemblies in jurisdictions where the average daily temperature in January is 25°F or less, or where local history shows damage from ice damming, require an ice barrier underlayment (grandrapidsmi.gov; up.codes). The code mandates that this barrier must extend from the lowest edges of all roof surfaces to at least 24 inches inside the building's exterior wall line.
The Asphalt Roofing Manufacturers Association (ARMA, 2024) outlines two approved methods for this protective layer:
- A self-adhering polymer-modified bitumen membrane complying with ASTM D1970 in the United States (asphaltroofing.org). ARMA recommends running this membrane at least 24 inches inside the interior wall line of the building.
- At least two layers of asphalt-saturated underlayment or felt cemented together (grandrapidsmi.gov).
Once recurring leaks, damaged roof decking, or severe ice buildups show up along the eaves, that is the point to bring in roofing help to evaluate underlayment and ventilation balance.
Gutter Selection and Fastener Durability#
Gutters do not generate ice dams. But slow-draining systems hold frozen slush and snow that add substantial weight to the eaves.
Material choice and fasteners dictate how a system survives hard freezes:
- Heavier gauge aluminum gutters measuring 0.27 or 0.32 inches are required in cold climates to bear snow loads, whereas vinyl gutters degrade in freezing conditions (iko.com).
- Older spike-and-ferrule fasteners pull loose over time because materials expand during freezing conditions and shrink when warmer.
- Modern ferrule screws and hidden gutter clips provide superior holding power against freeze-thaw cycles.
Engineered drainage standards reflect these forces. Under the proposed ANSI/SPRI ED-1 revision, regions with ground snow loads above zero must account for the force of ice forming around the gutter in static load calculations (spri.org). This design load is calculated as downward static load plus 2.0 times the flat roof snow load multiplied by the cross-sectional area of water.
Safe Snow Removal Methods from the Ground#
When heavy snow accumulates on eaves, clearing the lower roof edges reduces the water reservoir feeding an ice dam. However, walking on frozen, snow-covered roofs presents severe fall hazards.
Homeowners and maintenance personnel should avoid getting on the roof and instead remove snow safely from the ground using a roof rake (ag.ndsu.edu). When operating an extended roof rake, take special care to steer clear of overhead power lines. Chipping directly at ice dams with axes, picks, or hammers damages underlying shingles and dislodges granules, creating leaks that appear the following spring.
Next Steps for Michigan Homeowners#
Take these diagnostic steps to evaluate your home:
- Check your attic insulation depth against a tape measure to confirm adequate thermal resistance-targeting the cold-climate R-50 or roughly 15-inch level covered above (ag.ndsu.edu).
- Inspect eave overhangs from the attic to ensure rafter baffles keep insulation clear of soffit vents, maintaining the ventilation pathways described earlier.
- Seal open bypasses around plumbing stacks, wiring holes, or attic hatches using caulk or expanding foam based on gap size-specified above-to stop escaping indoor air (energy.gov).
- Examine the roof edge: if your roof needs replacement, verify with a contractor that the ice barrier underlayment meets Michigan code's exterior wall line overlap, covered above (grandrapidsmi.gov).
Property owners in Northville, Plymouth, and Novi can reach out to licensed exterior specialists to evaluate roof decking, ventilation ratios, and gutter systems before severe winter weather sets in.
| Hole / Gap Size Classification | Opening Measurement | Specified Sealing Material | Structural Support / Notes |
|---|---|---|---|
| Small | 1/4 inch or less | Caulk | Direct seal across cracks, gaps, and joints |
| Medium | 1/4 inch to 2 inches | One-component foam or mastic | Applied to ceiling penetrations and chases |
| Large | 2 inches to 3 inches | Two-component foam | Fills wide joints around bypasses |
| Extra-Large | 3 inches or larger | Infill material (non-bending, non-sagging) | Requires 2x4 support for spans wider than 24 inches |
| Assembly Component | Standard Specification | Governing Authority / Guideline | Functional Ice Dam Prevention Purpose |
|---|---|---|---|
| Thermal Insulation | 15 inches blown-in (R-50 minimum) | NDSU Extension Guidelines | Slows conductive heat transfer into unconditioned attic space |
| Eave Ice Barrier | ≥24 inches inside exterior wall line | Michigan Residential Code (R905.1.2) | Prevents pooled water behind dams from backing up under shingles |
| Polymer Membrane | ASTM D1970 compliant underlayment | ARMA Recommendations | Self-adhering waterproof barrier running ≥24 inches past interior wall line |
| Attic Ventilation Channel | Open rafter baffles at eaves | NDSU / ARMA Recommendations | Prevents insulation from blocking soffit airflow to keep roof cold |
| Cold-Climate Gutters | 0.27-inch or 0.32-inch aluminum gauge | Industry Cold-Climate Standards | Withstands weight of heavy snow and frozen slush accumulations |
Attic Insulation & R-Value Upgrade Calculator
Calculates existing attic thermal resistance (R-value) based on current insulation depth and material, determining the additional R-value and inches needed to reach the recommended R-60 standard for Michigan (Climate Zone 5) to prevent snowmelt and ice dams.
Estimated Current R-Value:
Target Michigan R-Value (Zone 5):
Additional R-Value Needed:
Additional Depth Needed:
Frequently Asked Questions
What are ice dams on the roof?
Ice dams are ridges of ice formed along eaves when interior heat warms the roof deck, melting snow that refreezes upon reaching colder overhangs, trapping water behind it.
How to prevent ice dam on roof
Prevent them by air sealing ceiling bypasses, maintaining at least 15 inches (R-50) of attic insulation, using rafter baffles for soffit ventilation, and clearing eave snow with a roof rake.
How to prevent ice dams in gutters
Keep gutters clean of debris and ensure outer gutter edges sit below the roof slope line so snow slides clear, preventing standing water from freezing into solid blockages.
Roof ice dam prevention products
Key products include ASTM D1970 self-adhering polymer-modified bitumen underlayment, ventilation baffles, ceiling sealants (caulk and expanding foam), heavy-gauge (0.27- or 0.32-inch) aluminum gutters, and telescoping ground roof rakes.
Disclaimer
This content is general information about roofing and home-exterior work and is not a substitute for an on-site inspection. Contact Horizon Roofing & Construction for advice specific to your home.
Sources
- Seal Insulation-Contact Rated Recessed Lights - energy.gov
- Construct Roofs and Attics for Ice Dam Prevention | Building America Solution Center - basc.pnnl.gov
- Reduce ice dam and icicle damage — Extension and Ag Research News - ag.ndsu.edu (2023-01-04)
- Roof Assemblies Handout - grandrapidsmi.gov
- How to Clean Gutters & Stop Ice Dams - Winter Gutter Maintenance - IKO - iko.com (2023-01-12)
- Chapter 3 Building Planning: Michigan Residential Code 2015 | UpCodes - up.codes
- Protecting Against Damage from Ice Dams – Asphalt Roofing Manufacturers Association (ARMA) - asphaltroofing.org (2024-08-27)
- Design Standard for Edge Systems - spri.org